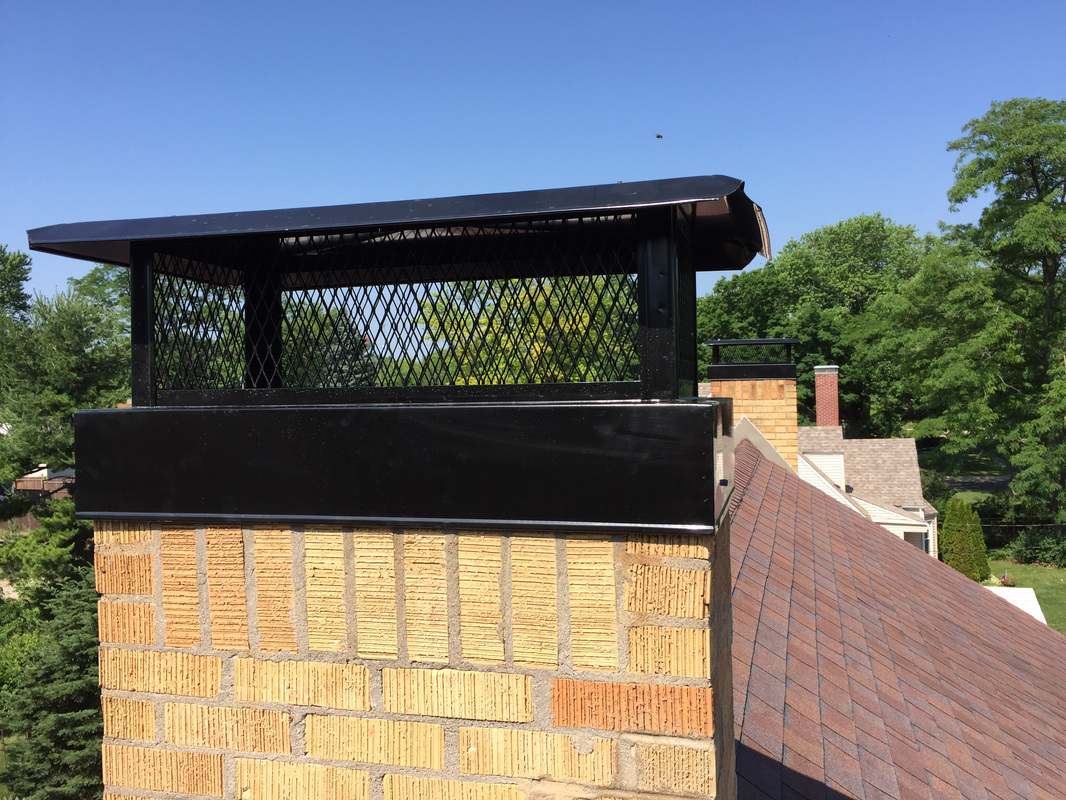
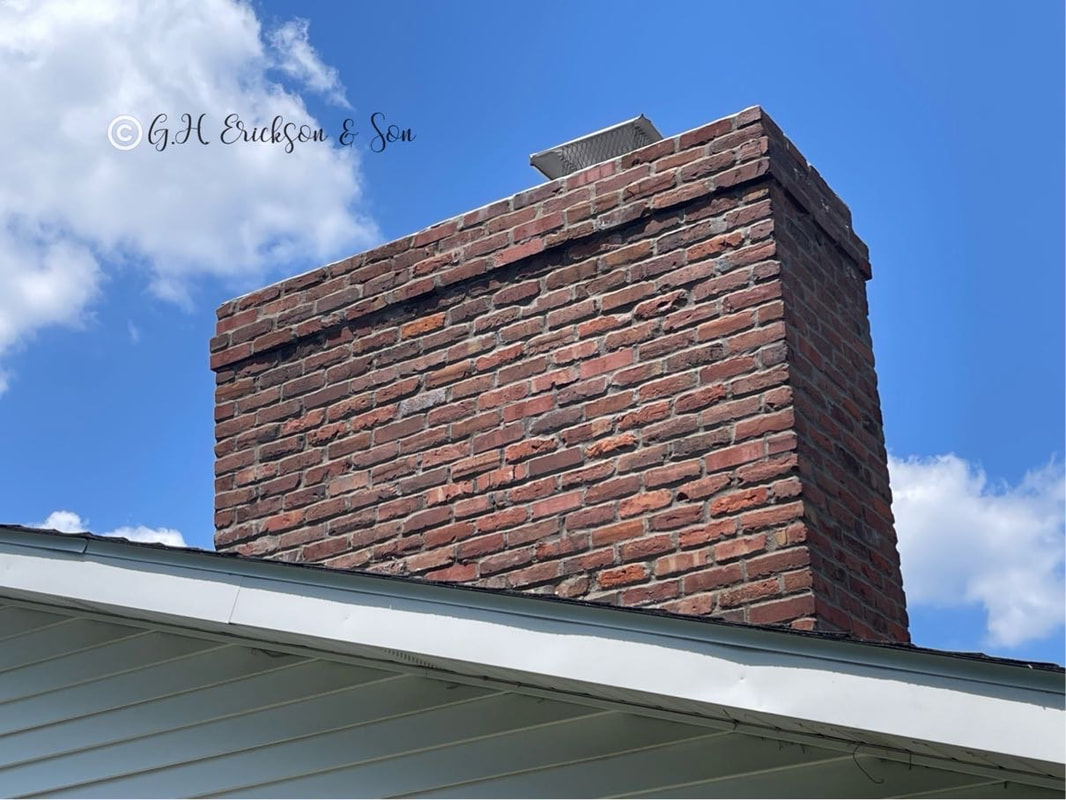
The Ultimate Guide to Chimney Cap InstallationIn today's fast-paced world, it's easy to overlook the importance of maintaining and enhancing the safety and value of your home. One such often-neglected aspect is the chimney cap. Fear not, for we have crafted the ultimate guide to chimney cap installation, designed to help you boost your home's safety and value in no time! As the unsung hero of your home's defense system, a well-installed chimney cap not only protects your family from potential hazards such as unwanted critters, water damage, and house fires but also contributes significantly to your property's curb appeal. So, whether you're a seasoned DIY enthusiast or a first-time homeowner, our guide will equip you with the knowledge and confidence needed to tackle this essential home improvement project. Let's embark on this journey together and discover the secrets to chimney cap installation success! The Importance of Chimney Cap Installation In recent years, the significance of chimney caps has become more apparent as homeowners recognize the need to protect their homes from various hazards. Chimney caps serve as a barrier to prevent animals, debris, and water from entering your chimney, thus ensuring a safer and more efficient fireplace. Without a chimney cap, critters such as birds, squirrels, and raccoons can nest in your chimney, creating blockages that can lead to smoke and dangerous gases like carbon monoxide seeping back into your home. Moreover, chimney caps help to keep rain and snow from entering your chimney, protecting the interior from water damage that can weaken its structural integrity. This can save you from costly repairs down the line. Additionally, chimney caps act as spark arrestors, preventing the escape of burning embers that can ignite nearby flammable materials, leading to devastating house fires. Lastly, a well-installed chimney cap enhances the aesthetic appeal of your home, making it more attractive to potential buyers. This not only adds value to your property but also boosts its curb appeal, resulting in a higher perceived value. In summary, investing in a chimney cap installation is a crucial step in safeguarding your home's safety, functionality, and value. Types of Chimney Caps and MaterialsBefore diving into the process of installing a chimney cap, it's essential to familiarize yourself with the various types of caps available and the materials from which they are made. Chimney caps come in four primary designs: single-flue caps, multi-flue caps, custom caps, and top-mount caps. Single-flue caps are designed for chimneys with one flue, while multi-flue caps can accommodate chimneys with multiple flues. Custom caps are tailored to fit unique chimney shapes, and top-mount caps attach directly to the chimney crown. Chimney caps can be made from various materials, including stainless steel, copper, aluminum, and galvanized steel. Stainless steel and copper are the most popular choices due to their durability, corrosion resistance, and aesthetic appeal. Aluminum caps are lightweight and affordable but may not provide the same level of protection as their stainless steel and copper counterparts. Galvanized steel caps are more affordable than stainless steel and copper caps but are prone to rusting over time, requiring more frequent replacement. When selecting a chimney cap, it's crucial to consider the climate in which your home is located. For instance, if you live in an area with heavy rainfall, a copper or stainless steel cap would be the best choice due to their superior resistance to water and rust. On the other hand, if you reside in a region with mild weather conditions, an aluminum or galvanized steel cap may suffice. Choosing the Right Chimney Cap for Your HomeFinding the perfect chimney cap for your home requires careful consideration of various factors, such as your chimney's size, shape, and flue type. Begin by measuring the dimensions of your chimney, including the length, width, and height, to determine the appropriate cap size. Next, examine your chimney's crown (the top surface surrounding the flue) to identify its shape, which can be square, rectangular, round, or oval. This information will help you select a cap that fits your chimney's specific dimensions and contours. Another critical factor to consider is your chimney's flue type, which can be either single-flue or multi-flue. If your chimney has multiple flues, you may need a multi-flue cap or individual single-flue caps for each flue, depending on your preference. Additionally, consider factors such as your home's architectural style and budget when selecting a cap material. For example, copper caps can add a touch of elegance to traditional homes, while stainless steel caps may be more suitable for modern homes. Lastly, consult your local building codes and homeowner's association guidelines to ensure that your chosen chimney cap complies with any specific requirements or restrictions. Some areas may have strict regulations regarding cap materials, styles, or sizes, so it's essential to verify that your cap adheres to these rules before proceeding with the installation. Step-by-Step Guide to Chimney Cap InstallationNow that you've selected the ideal chimney cap for your home, it's time to dive into the installation process. While chimney cap installation may seem daunting, this step-by-step guide will help you tackle this home improvement project with confidence. 1. Gather the necessary tools and materials:Before starting the installation, ensure you have all the required tools and materials, including your chimney cap, a ladder, work gloves, safety goggles, a tape measure, a drill, masonry screws, and a level. 2. Set up the ladder:Position the ladder securely on a flat surface and extend it to reach the top of your chimney. Always practice proper ladder safety, such as maintaining three points of contact (two hands and one foot or two feet and one hand) and having someone hold the ladder for added stability. 3. Attach the mounting brackets:If your chimney cap comes with mounting brackets, attach them to the cap per the manufacturer's instructions. Most chimney caps will have pre-drilled holes for easy installation of the brackets. 4. Position the chimney cap on the chimney:Carefully climb the ladder with the chimney cap and place it on top of your chimney, aligning the cap with the flue opening and crown. Ensure that the cap fits snugly and securely on the chimney, and use the level to check that it's even. 5. Secure the chimney cap:Attach the chimney cap to the chimney by drilling pilot holes and inserting the masonry screws through the mounting brackets. Make sure the cap is firmly attached and doesn't wobble or shift when you apply pressure. 6. Inspect the installation:Once the cap is securely fastened, take a step back and examine your handiwork. Confirm that the cap is level, centered, and securely mounted to the chimney. 7. Clean up:After completing the installation, gather your tools and materials, and dispose of any debris or packaging materials responsibly. DIY vs. Hiring a Professional for Chimney Cap InstallationWhile some homeowners may feel comfortable tackling chimney cap installation as a DIY project, others may prefer to hire a professional for the job. There are several factors to consider when deciding between DIY and professional installation, such as your level of expertise, the complexity of the project, and your budget. If you have experience with home improvement projects and feel confident in your abilities, a DIY chimney cap installation may be a cost-effective option. However, if you lack the necessary skills or tools, or if your chimney presents unique challenges (e.g., a steep roof or an unusual shape), hiring a professional may be the safer and more efficient choice. Professionals have the experience, knowledge, and equipment to handle even the most complex installations, ensuring that your chimney cap is installed correctly and securely. In terms of cost, a DIY installation can save you money on labor expenses. However, hiring a professional may be more cost-effective in the long run, as they can often identify and address potential issues during the installation process, saving you from costly repairs down the line. Ultimately, the decision between DIY and professional installation will depend on your individual circumstances, preferences, and comfort level. If you need to hire a professional, contact G.H. Erickson & Son at (309) 678-6097 Chimney Cap Maintenance and InspectionOnce your chimney cap is installed, it's essential to maintain and inspect it regularly to ensure that it continues to function correctly. Chimney cap maintenance involves cleaning the cap and chimney, removing any debris or blockages, and checking for any signs of damage or wear and tear. Regular maintenance can extend the life of your chimney cap and prevent potential safety hazards. Inspecting your chimney cap involves examining the cap for any signs of damage, such as cracks, rust, or discoloration. You should also check the cap for any blockages caused by debris or nesting animals. Additionally, inspect the chimney crown and mortar joints for any signs of wear and tear, as these can affect the cap's stability and performance. If you notice any issues during your inspection, it's crucial to address them promptly to prevent further damage or safety hazards. It's recommended to have your chimney cap and chimney inspected and cleaned by a professional at least once a year, especially if you use your fireplace frequently. A professional can identify any potential issues and make necessary repairs to ensure that your chimney cap continues to protect your home and family. Common Chimney Cap Problems and SolutionsWhile chimney caps are designed to last for many years, they can develop problems over time. Some common chimney cap issues include rusting, cracking, and blockages. Fortunately, most issues can be addressed with simple solutions. Rusting is a common issue with galvanized steel caps and can lead to structural damage and water leaks. The solution is to replace the cap with a more durable material such as stainless steel or copper. Cracking can occur due to extreme weather conditions or improper installation and can lead to water leaks and damage to the chimney. The solution is to replace the cap immediately to prevent further damage. Blockages caused by debris or nesting animals can result in poor chimney performance and safety hazards. The solution is to remove the blockage and install a cap with a mesh screen to prevent future blockages. Boosting Your Home's Value with a Well-Maintained ChimneyA well-maintained chimney cap can significantly boost your home's value and curb appeal. A new or upgraded chimney cap can add a touch of elegance to your home's exterior, making it more attractive to potential buyers. Additionally, a well-maintained chimney cap indicates that you have taken good care of your home, which can increase its perceived value. Moreover, a functional and efficient chimney cap can save you money on repairs and energy costs. By preventing water damage and blockages, your chimney cap can extend the life of your chimney and reduce the need for costly repairs. Additionally, a well-insulated cap can improve your chimney's energy efficiency, reducing your heating and cooling costs. Conclusion: Ensuring Your Home's Safety with Chimney Cap InstallationIn conclusion, chimney cap installation is a crucial step in safeguarding your home's safety and value. A well-installed chimney cap can protect your home from potential hazards, including unwanted critters, water damage, and house fires. It can also enhance your home's curb appeal and value. By following our comprehensive guide, you can confidently install and maintain your chimney cap, ensuring that your home remains safe and functional for years to come. Remember to consult a professional if you have any questions or concerns regarding chimney cap installation or maintenance.
1 Comment
|
We Would Love to hear from you!
|
Service area:
|
Telephone(309) 678-6097
© 2005 - 2023 G.H. Erickson & Son. All Rights Reserved Address 1700 W Marigold Dr Peoria, IL 61615 Designed by: jaytweb.com |


